


Video Basics for Documentary
How to Start Filming Your Movie if You've Never Shot Before

I’m going to get basic with this one. If you’re looking for advanced doc tips, those are coming. And, if you clicked through from social media and haven’t subscribed yet, why don’t you hit this button and make it official:
Filming a documentary is daunting. The word alone— director of photography (DP) or cinematographer — evokes an air of superiority and art. It’s associated with some of the greatest moviemakers of all time, like Roger Deacons and Emmanuel Lubezki. You probably picture someone behind a giant film camera, sitting on a crane. Don’t let that dissuade you from jumping in and starting to shoot.
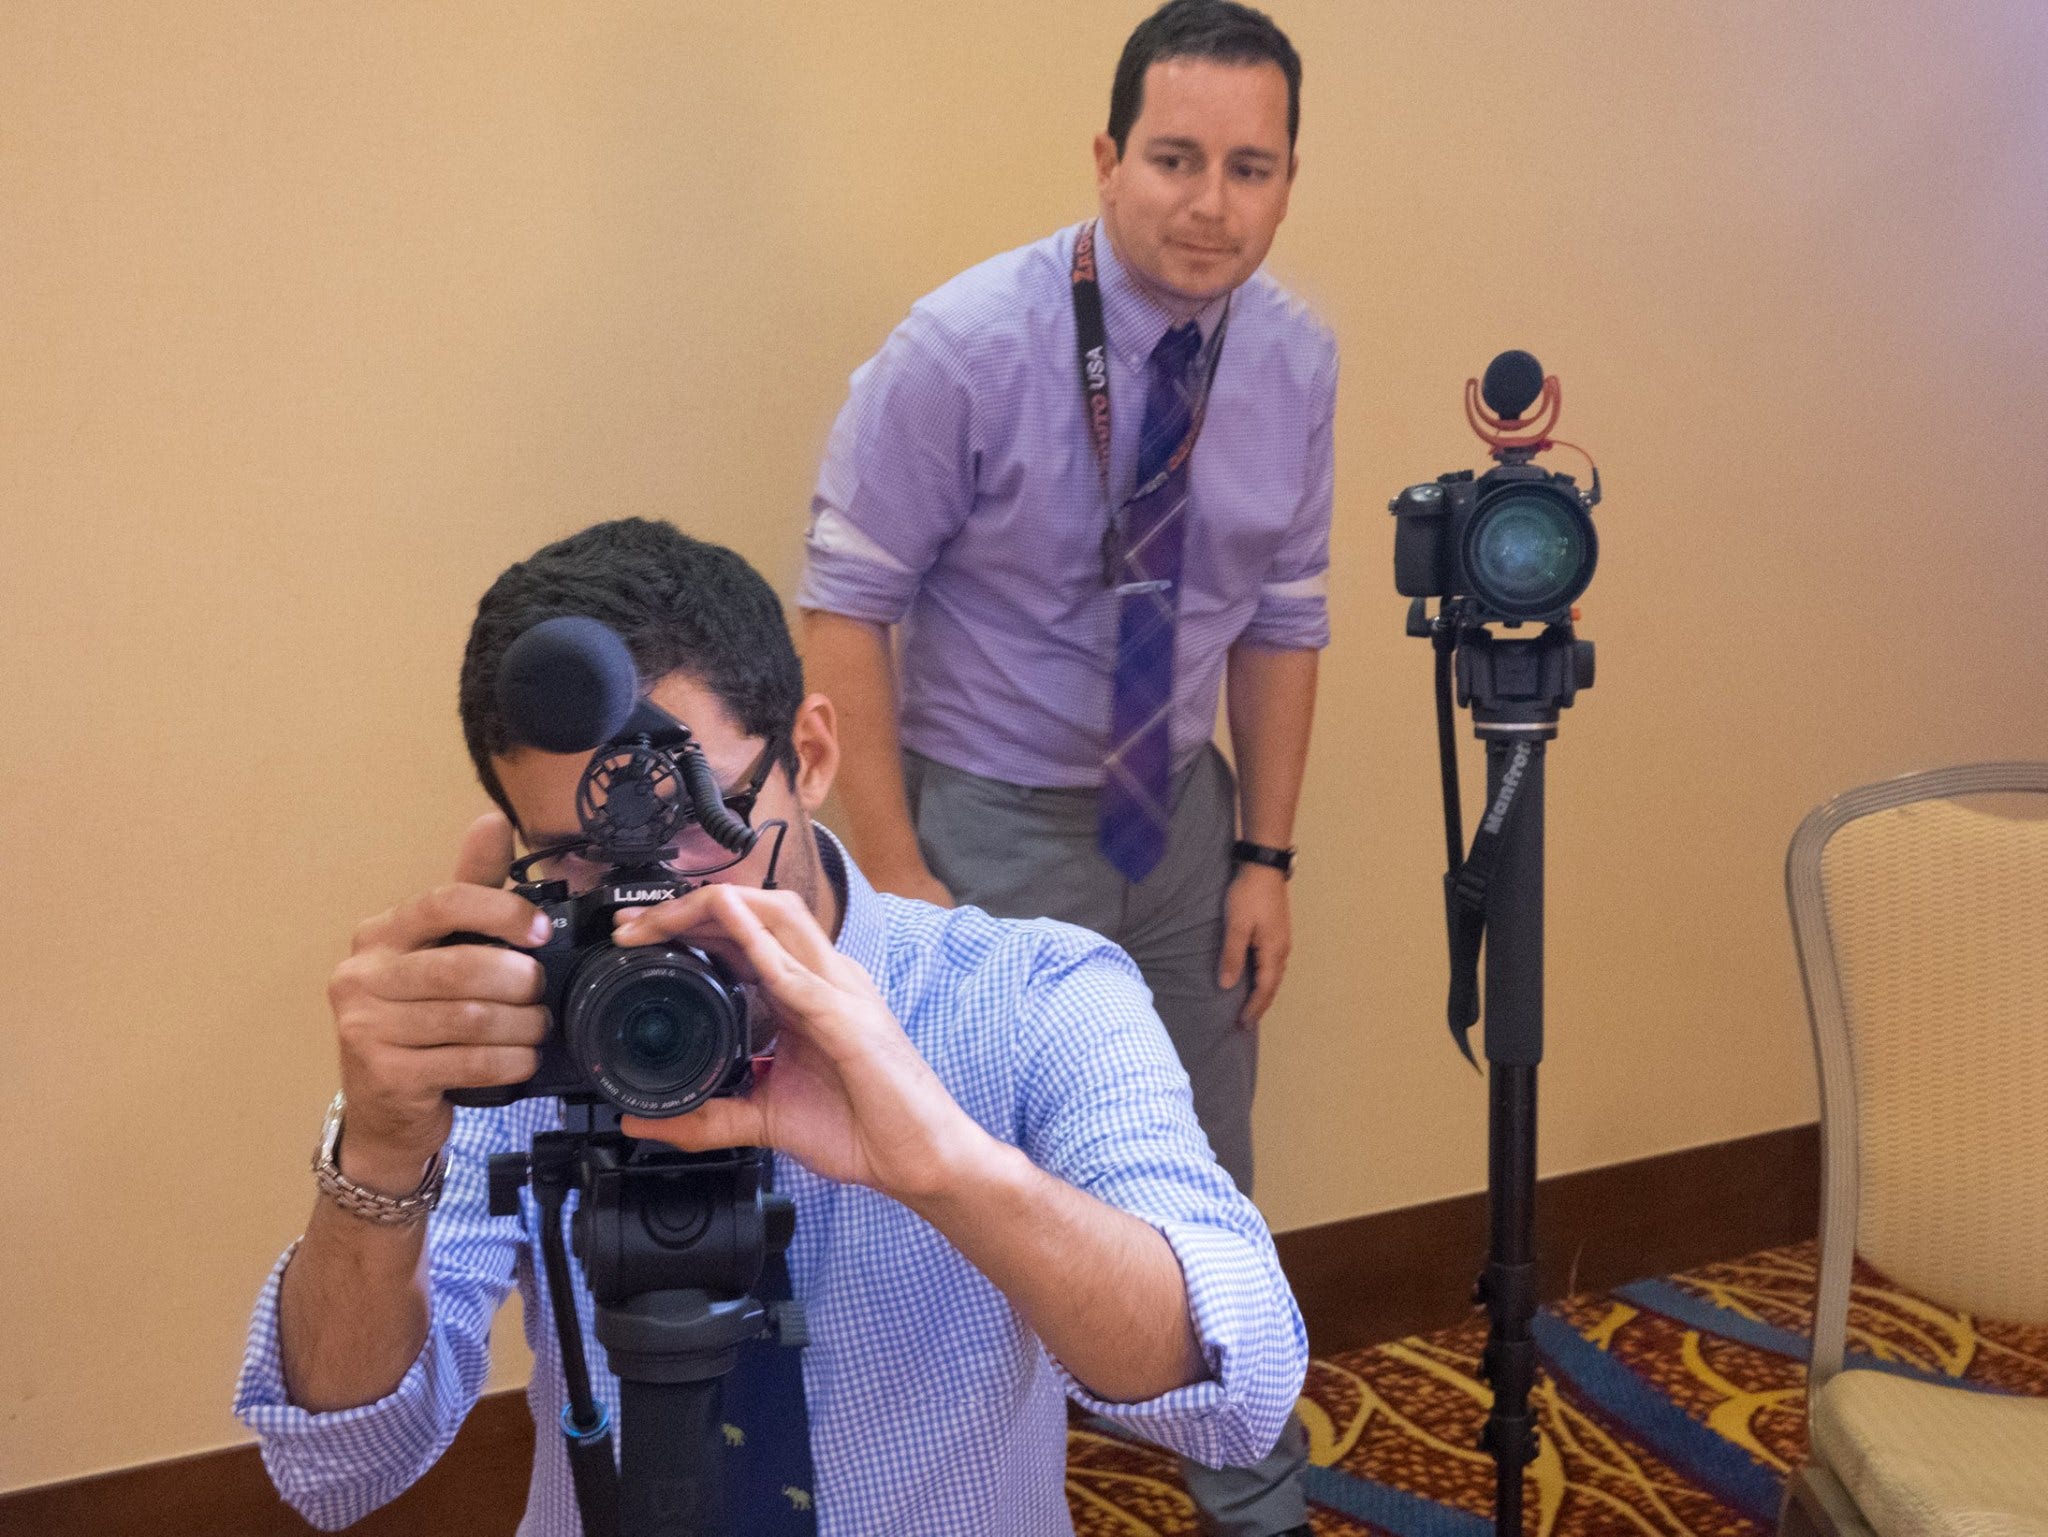
Documentary cinematography is different. It’s raw, it’s compact and it’s usually a much smaller team. Shooting a doc is story over style. If you were filming a scripted movie and something was out of focus, you’d reset the set and shoot it again, but you can’t do that in a documentary. You have one chance to get the shot and need to capture the emotion in one take.
You don’t need the most expensive camera to start shooting a doc. You especially don’t need it to put together sample footage for fundraising. We shot our documentary Queen of the Capital on prosumer mirrorless cameras (the Panasonic GH3).
You could get also started on your phone. I’m constantly impressed with the quality video that I can get out of my iPhone. Straight out of the box, it takes 4K, HDR (better than my mirrorless!), but I’d recommend upgrading it slightly. I’ll suggest some tech, then get into some theory of shooting.
The great thing about getting started on a phone is you can jump in, film a short teaser and use that for grant proposals or other fundraising opportunities. Then you can raise money for a more professional camera that you have more control over.
I’ll get into professional camera technology and what’s in my bag in a later post, but for now, here’s some smartphone tech (hardware and software) to think about if you’re going to film on your phone:
Audio
Video is 70% audio. I don’t remember where I heard that (I can’t claim it as my own), but it’s so true. I’ve seen studies that show that if a video has bad audio and good video, the viewer turns it off, but if it’s got good audio and bad video, the audience thinks the creator made an artistic choice.
Mic up! There are many companies make smartphone microphones. I would recommend picking up a lavalier microphone and a shotgun microphone. The lavaliere is a small microphone that attaches to your interviewee’s lapel or collar, while a shotgun attaches to the top of the camera (or the side of the phone). Both will up the quality of your videos. Here’s some suggestions:
If you can’t upgrade your audio, make sure you get close. The iPhone microphone isn’t terrible, but you still have to get fairly close to make sure it sounds ok.
Software
You can take your phone right out the box and start filming, but to really flex, you should upgrade your camera app. I recommend filmic Pro. It’s amazing what Filmic Pro gets out of your Smartphone camera. On the most basic level, it gives you more control over the camera, allowing you flexibility with the focus, exposure and color balance. It is much deeper than that, giving you the ability to record on an external device, with a deep 422, 10bit color science (if this sounds like gibberish it’s ok, you’ll still get a lot out of it).

You should also check out Double Take, free software by the people who make Filmic Pro. It allows you to record from two of your lenses at the same time. You can choose to record a tight and super-wide or a front-facing lens and selfie lens. It gives you a ton of flexibility in post. When you start editing, the more choices you have, the better.

Ok, you have your equipment. Let’s start filming.
Think in Shots. Long Shots.
This is the number one issue I see with new videographers. You need to hold your shots longer. Especially if you’re going to be working in documentary. In TV news, we generally hold a shot 6-10 seconds, then we move on to the next one. In documentary, we need to hold it longer. We need to be cognizant of what our subject is saying or doing. Hold through the soundbite, hold through the action, then move on to the next shot. In docs we can hold a shot for 30 seconds or more if we need.
If you’re new to video, what I mean is set up your shot, compose it like a photo, then hit record and hold it. I would recommend that in the beginning, hold it still for your shot, hit record to stop, recompose your next shot and hit record again.
If you’re going to move the camera, move it with intention. No one wants to watch a video where the camera is moving all over the place. If there is movement, there needs to be a reason behind it.
You also want to think about how your shots lead into each other. It’s called sequencing. We’ll talk more about it in another post (because it is 50% in post), but you should think about it while you’re shooting. Think of it this way, if individual shots are words, a sequence is a sentence. How does one shot flow into the next shot, into the next shot. You need to think about that now and practice it when you start editing.
Remember the Rules
Basic photography rules apply. Rule of thirds, headroom, foreground, middle ground, background. Once you’re ready, you can break them, but start out following them.
The rule of thirds divides your image into three parts horizontally and three parts vertically. The focus of your shot should fall on one of those lines.
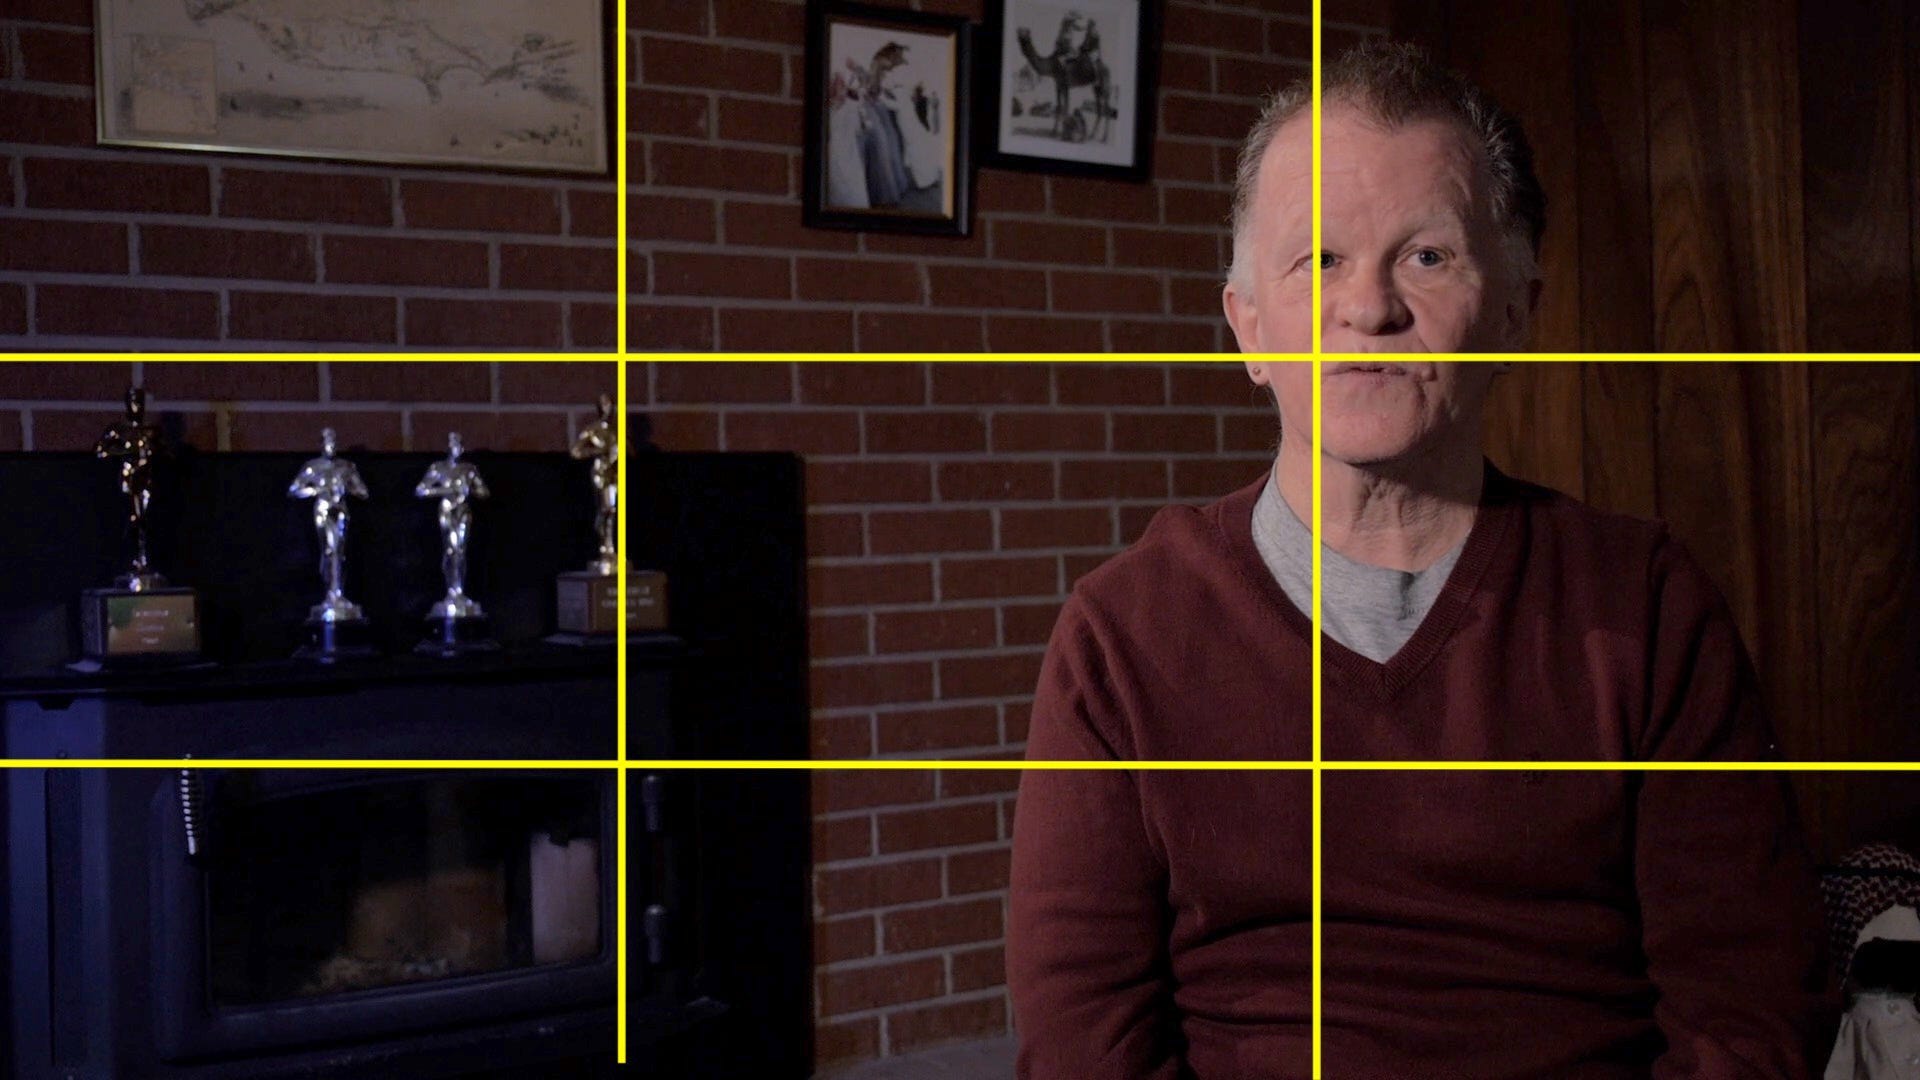
Once you get going you can really push the boundaries and set your interview up on the bottom third or looking through the short side of the frame.
This rule follows you when you’re shooting B-Roll too, not just for interviews.
Generally, you don’t want too much headroom in your interviews or when you’re shooting video. Headroom is the space in between the top of your subject’s head and the top of the frame. This is another rule you that you can break once you learn it, but you should feel comfortable with it first.

Lastly, on the most basic level, think about foreground (what’s closest to the camera), middle ground (the main subject) and background. The more you play around with these the better your video will look.
Zoom with your feet
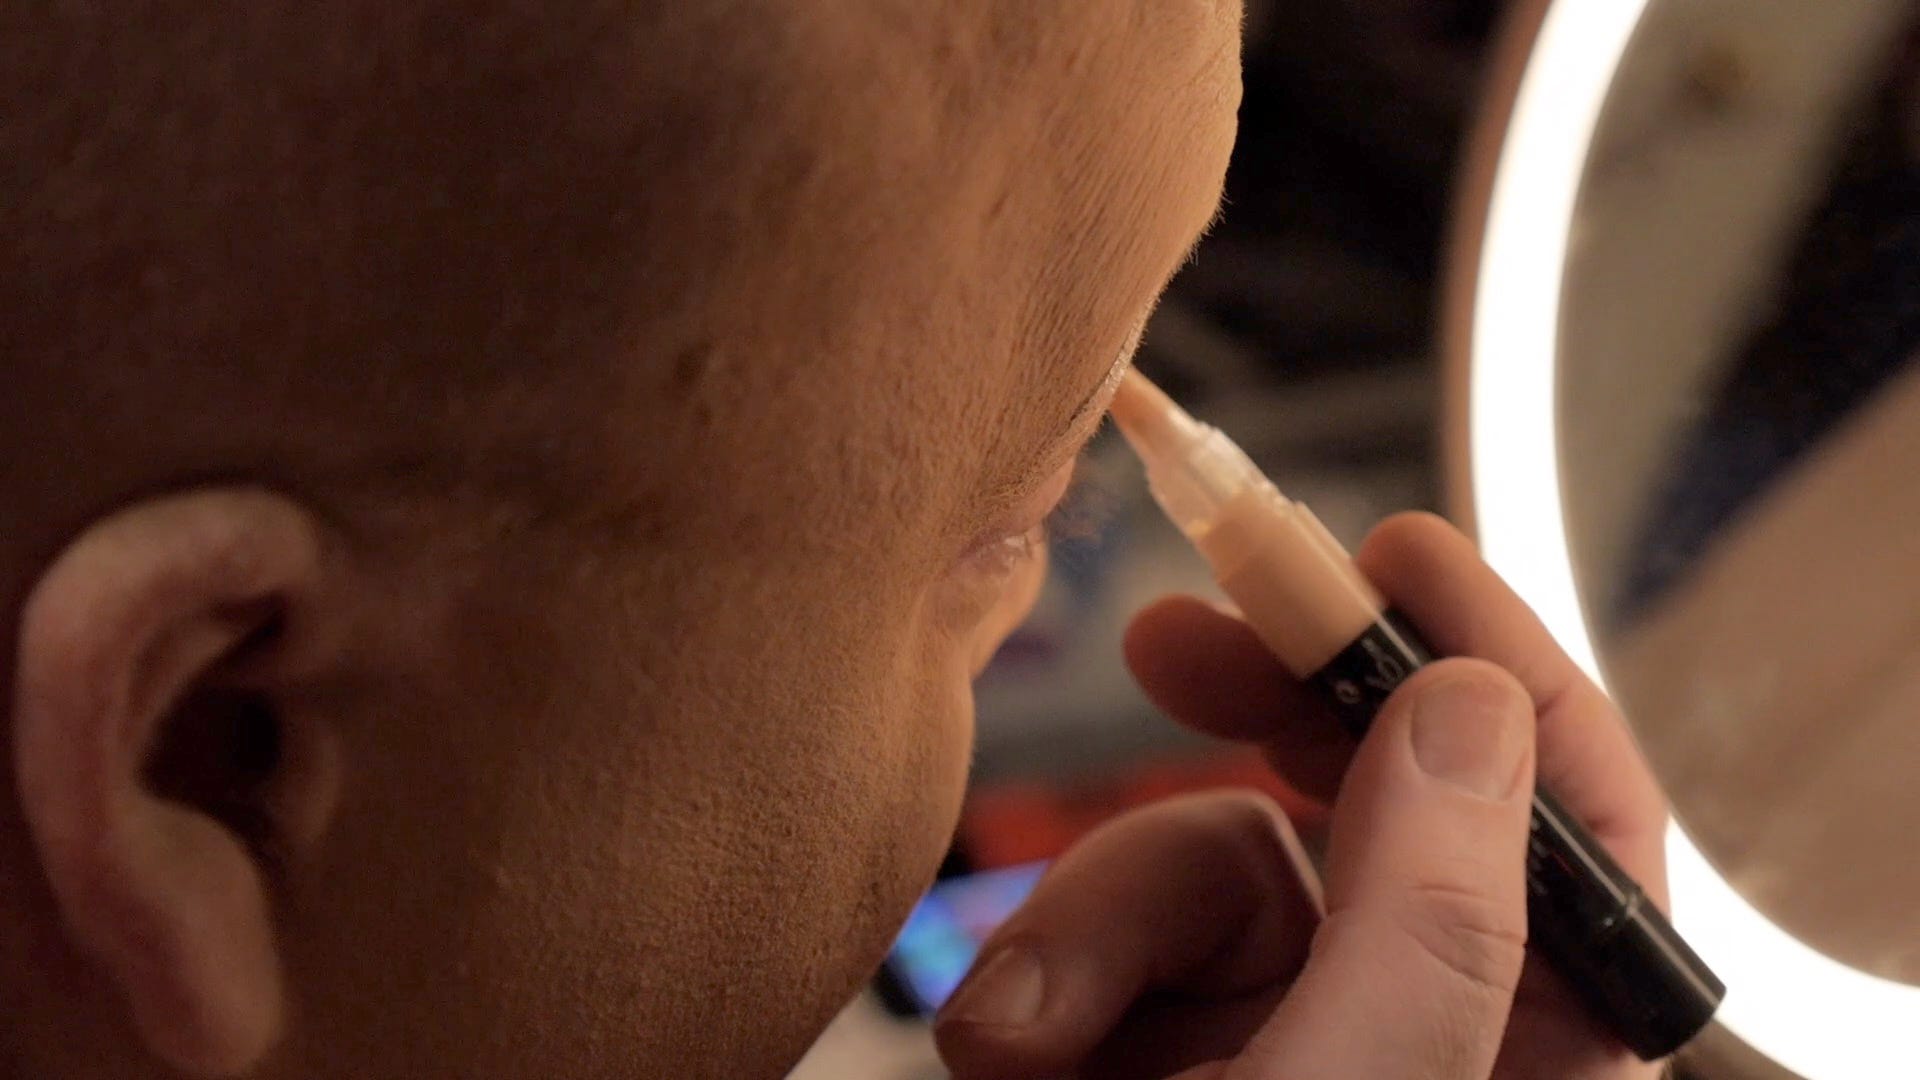
lastly, if you’re using a camera with a fixed lens (no optical/mechanical zoom), move to zoom. Get close. Don’t be afraid to get in your subject’s face. Emotion is in the face, and you want it to be the focus of the frame. The only way to do that is to get close.
Tight shots are important because they’ll help you in editing and they add the real flavor or emotion to your video. If we go back to the sentence analogy, tight shots are the adjectives. They’re what make your sentence (or sequence) really sing and stand out.
You don’t have to shoot your whole documentary on your smartphone (although you can if you want). You could just shoot enough for fundraising. A grant application usually requires a trailer or a 10-minute scene from your doc. Once you get that money, you can put it towards a camera rental or buy a camera with more control over the image. Look out Roger Deacons.
Sorry if this post is too basic, I’ll dive into some deeper production topics in the future!
What I’m watching:
I just watched My Octopus Teacher. It’s a fascinating look at a relationship between a diver and Octopus. It straddles the line between a nature film and character study. How does he hold is breath for as long as he does?!